How to Make an LED Ambient Mood Light
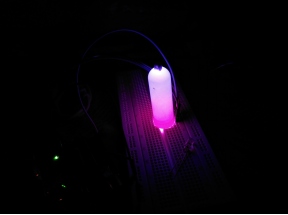
This project mixes a red, green, and blue LED to get a wide range of colors, and the Arduino cycles through them. The paper cover is used to diffuse the light from the discrete LEDs into a more uniform hue. This project is ideal to add some mood lighting to a dark room using the Arduino and some common, cheap materials.
you can watch it working just click the link below
Component we need for this
Arduino Uno
- Three 220 ohm resistor
- One red led
- One blue led
- One green led
- Breadboard
- Breadboard cables
- White paper/ A plastic cap
- Scissors
- Tape
Step I
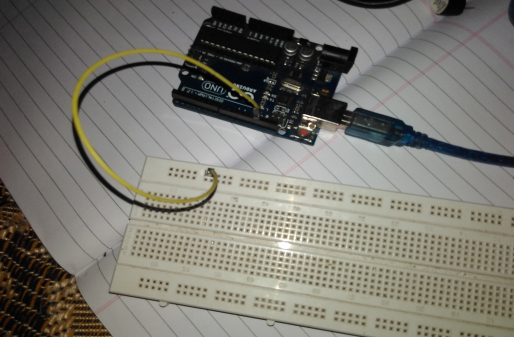
Firstly we have to connect all component
Step I
we have to take common ground take a breadboard wire and connect it to the ground of the
arduino and take the other end to breadboard.
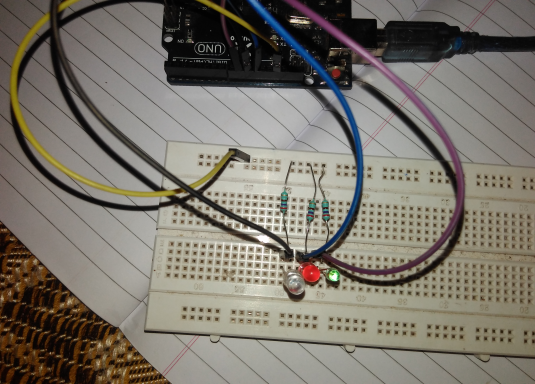
Then connect 3 220 ohm resistor to ground

Now connect leds negative terminal to the ground and positive end to pin no 9,10,11 of
arduino respectively and the final assembly look like this.
Step II
In this step we have to make a box like structure to cover LED BULBS .

Step III
Now we are going to upload program on arduino board

COPY AND PASTE THE FOLLOWING CODE TO ANRDUINO IDE
/*
Fade
This example shows how to fade an LED on pin 9
using the analogWrite() function.
This example code is in the public domain.
*/
int led9 = 9;
int led10 = 10;
int led11 = 11; // the pin that the LED is attached to
int brightness = 0; // how bright the LED is
int fadeAmount = 5; // how many points to fade the LED by
// the setup routine runs once when you press reset:
void setup() {
// declare pin 9 to be an output:
pinMode(led9, OUTPUT);
pinMode(led10,OUTPUT);
pinMode(led11,OUTPUT);
}
// the loop routine runs over and over again forever:
void loop() {
// set the brightness of pin 9:
analogWrite(led9, brightness);
analogWrite(led10,brightness);
analogWrite(led11,brightness);
// change the brightness for next time through the loop:
brightness = brightness + fadeAmount;
// reverse the direction of the fading at the ends of the fade:
if (brightness == 0 || brightness == 255) { fadeAmount = -fadeAmount ;
}
// wait for 30 milliseconds to see the dimming effect
delay(30);
}


